Top suggestions
Assembly & disassembly
Stick on the adhesive foil correctly with transfer foil (e.g. cut type freeform / without background and outer contour): The motifs are cut from adhesive foil. So that you don't have to stick on all parts individually, they are already delivered correctly positioned on transfer foil.
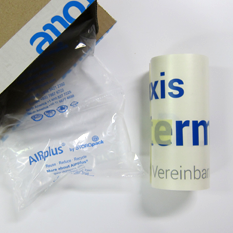
You will receive your foil rolled up, padded with bubble wrap in one package. Roll it out and lay it flat on a flat surface.
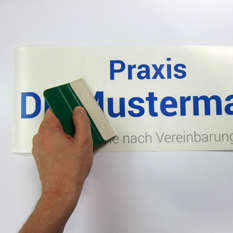
Stroke firmly over the surface to press all letters and characters back onto the transfer film. Repeat this on the reverse side. All parts of the motif now adhere to the transfer foil.
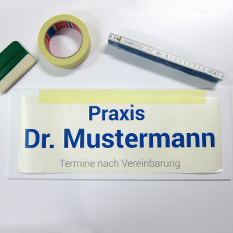
Fix the film in the correct position with a strip of adhesive tape (e.g. Sellotape, masking tape on the upper edge.
You can check the position e.g. with a yardstick.

Fold the entire film upwards so that the motif is upside down. You can now see the back of the foil (the backing paper).

Remove the backing paper at an acute angle. You now expose the sticky side. (If letters do not yet stick to the transparent transfer foil, paint it again).
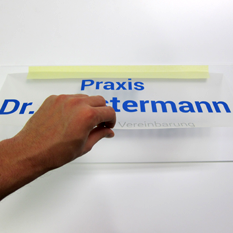
Fold the film back down. Make sure that the adhesive foil does not stick unintentionally. Hold it taut and lay it flat on the surface.
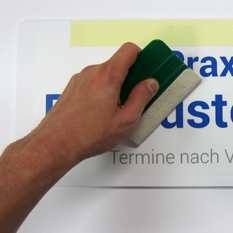
Now stroke firmly and evenly with a squeegee or a similar attachment aid (e.g. a squeegee) from top to bottom over the transfer film. You thus press the parts with the adhesive side against the substrate.
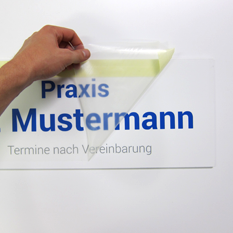
Now carefully (not too fast) remove the transparent transfer foil again. Make sure that all parts come off the transfer foil and adhere to the surface.
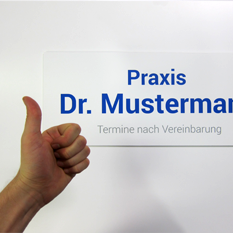
Ready! Check if all parts of the motif stick well and your lettering / sticking is ready!